2021/3/2にPower Automate Desktop for Windows 10が発表されました。トリガー/スケジューラーによる自動実行が出来ないなどの制限はありますが、無料でRPAを実行出来るようになった事は大きいと思います。今回はインストールの流れと、簡単なフローの作成、実行の様子を記事にしたいと思います。
Power Automate Desktopのインストール
まずはPower Automate Desktop for Windows 10をインストールしましょう。
検索サイトで「Power Automate Desktop」を検索します。
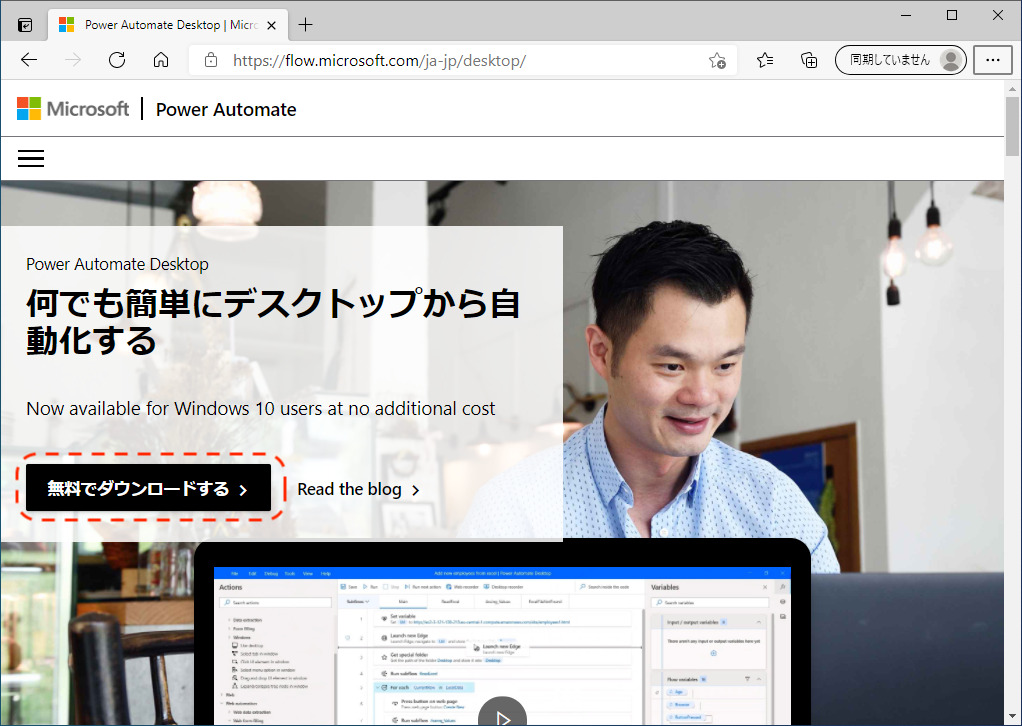
[無料でダウンロードする]のボタンをクリックしましょう。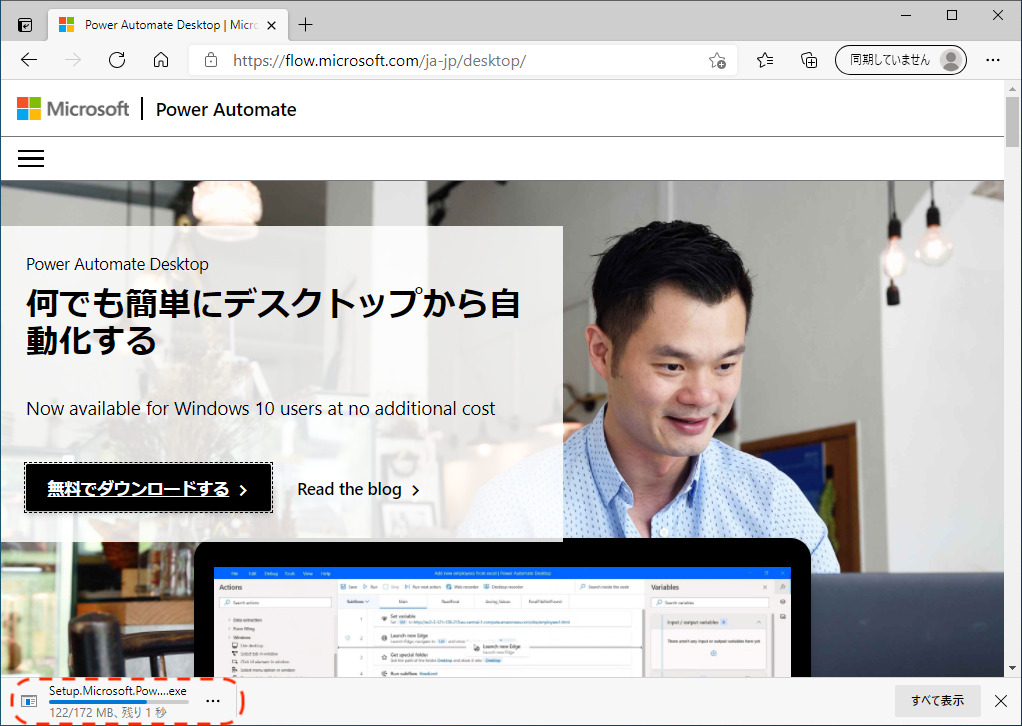
ダウンロードが始まります。
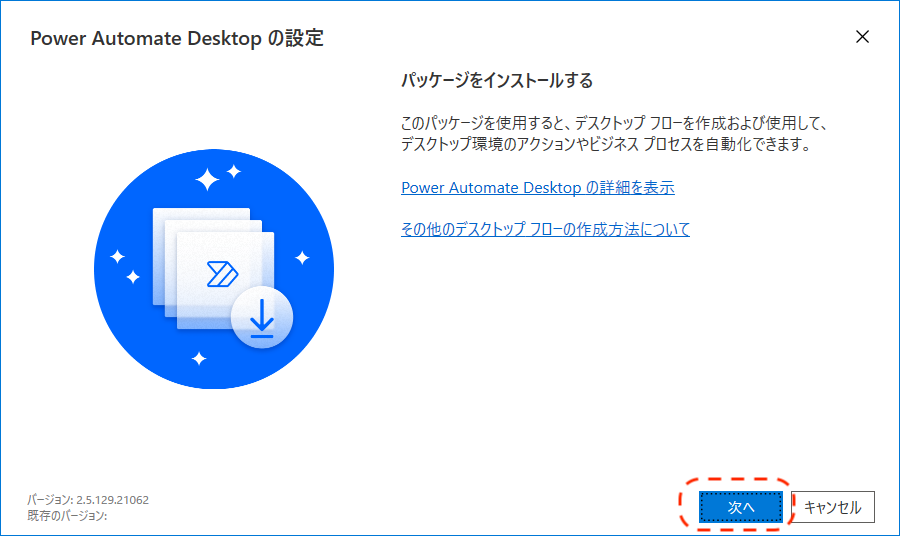
ダウンロードしたファイルを開き、インストールを始めます。
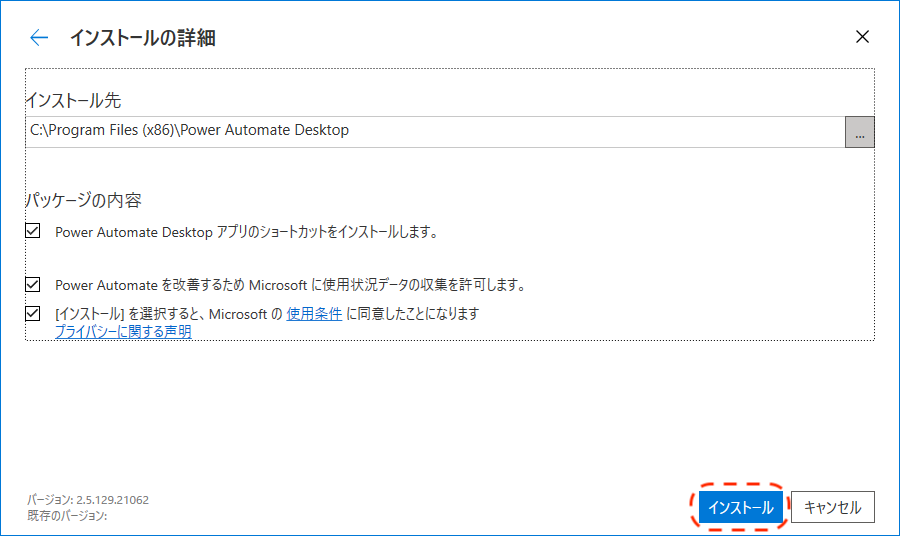
インストール先を選択します。
使用状況データの収集を許可の箇所はお好みに合わせてどうぞ。
[インストール]をクリックすると、インストールが始まります。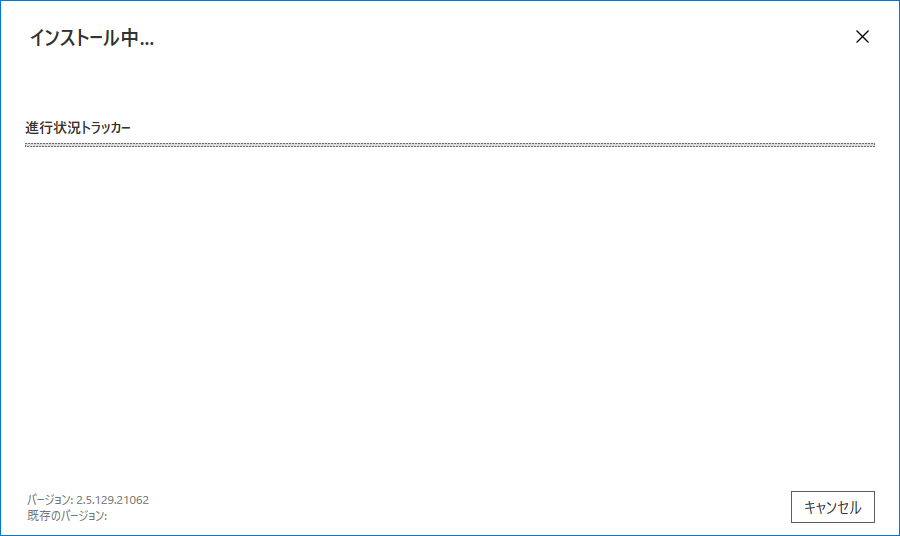
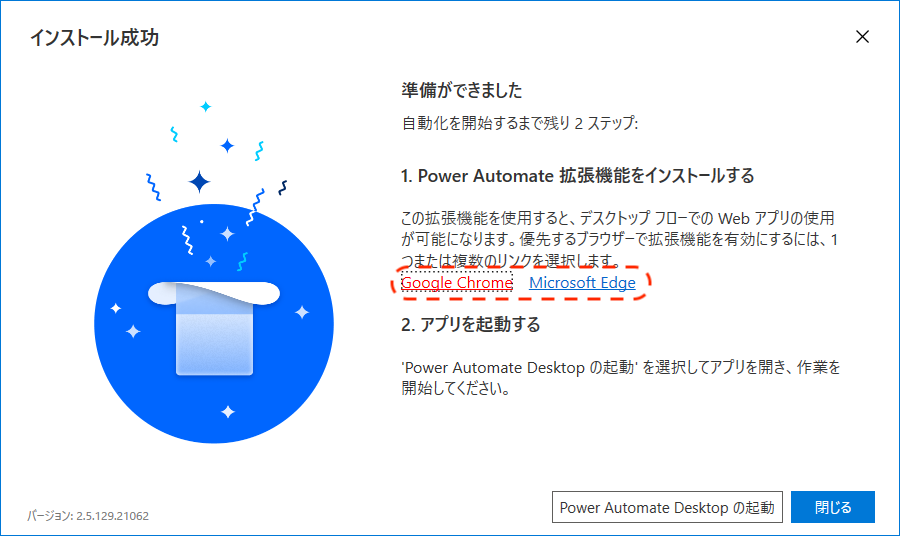
インストール完了です。
ブラウザを操作するため、拡張機能を有効にしておきます。
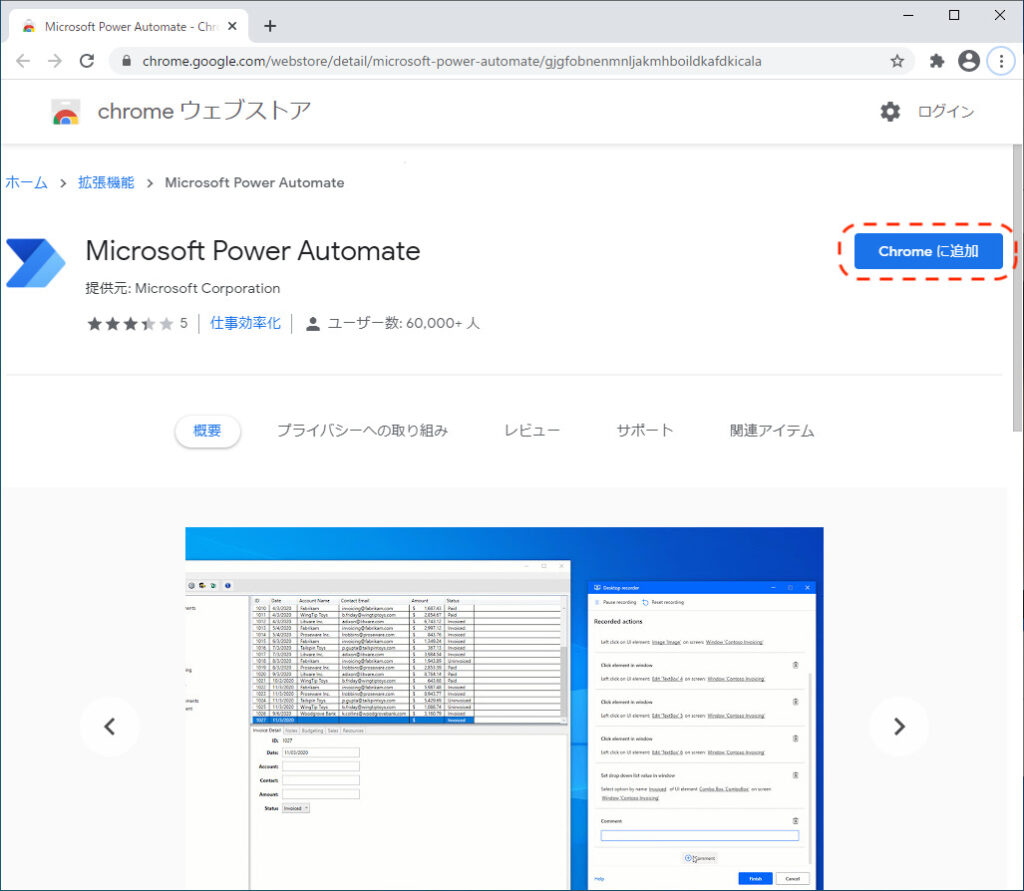
Chromeの拡張機能はこちら。
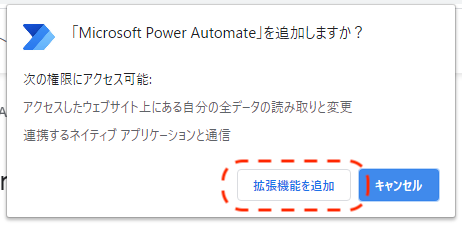
拡張機能を追加します。

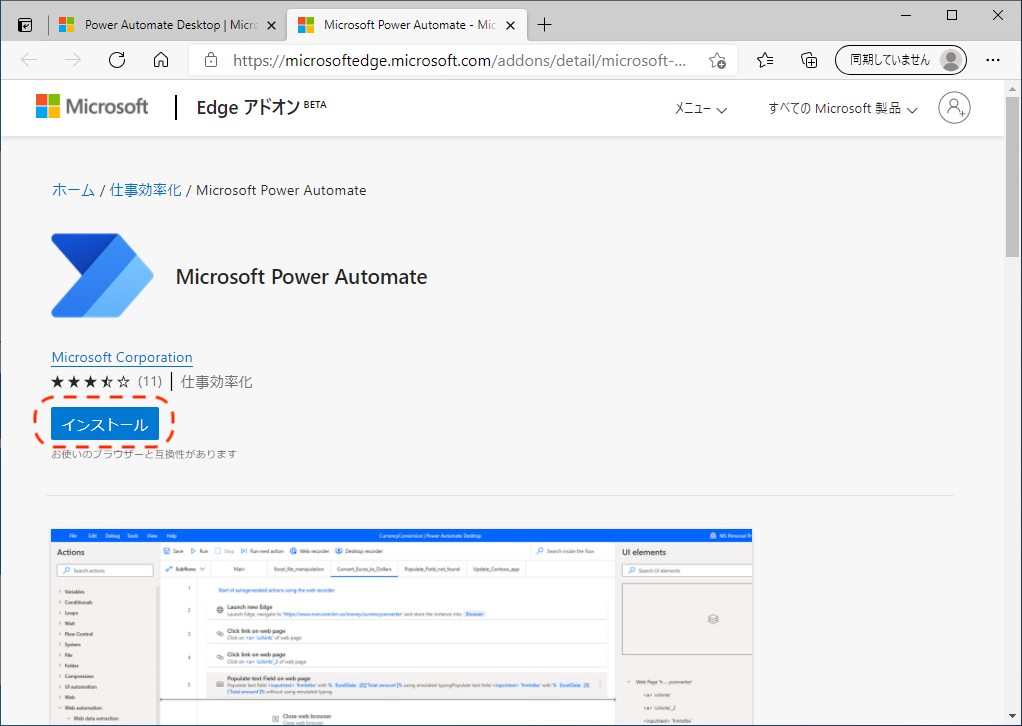
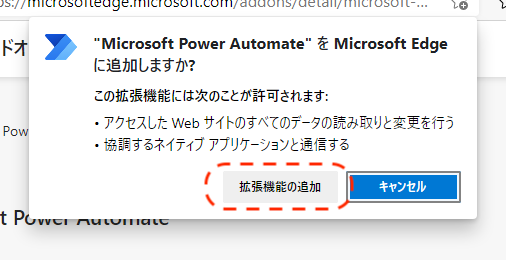
Edgeにも拡張機能をインストールします。
拡張機能を追加します。
これでブラウザに拡張機能の追加が終わりました。
[Power Automate Desktopの起動]をクリックし、起動します。Power Automate Desktopの起動
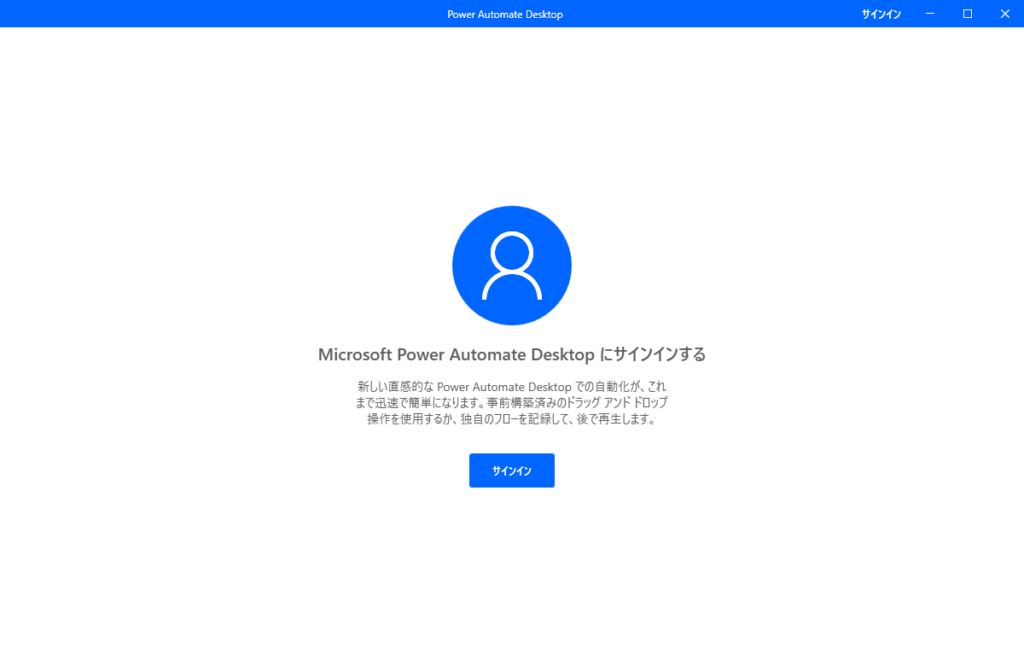
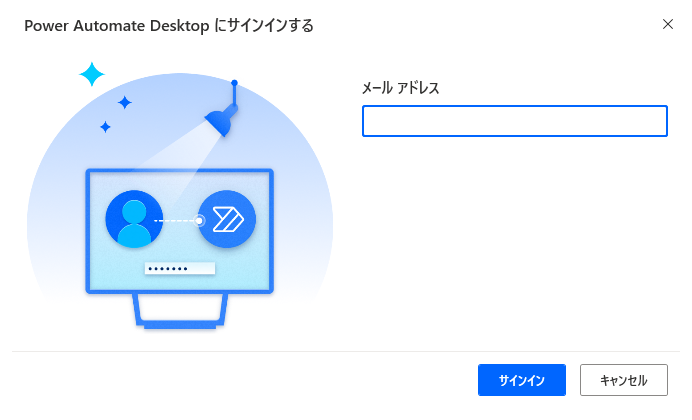
Microsoftアカウントのメールアドレスを入力します
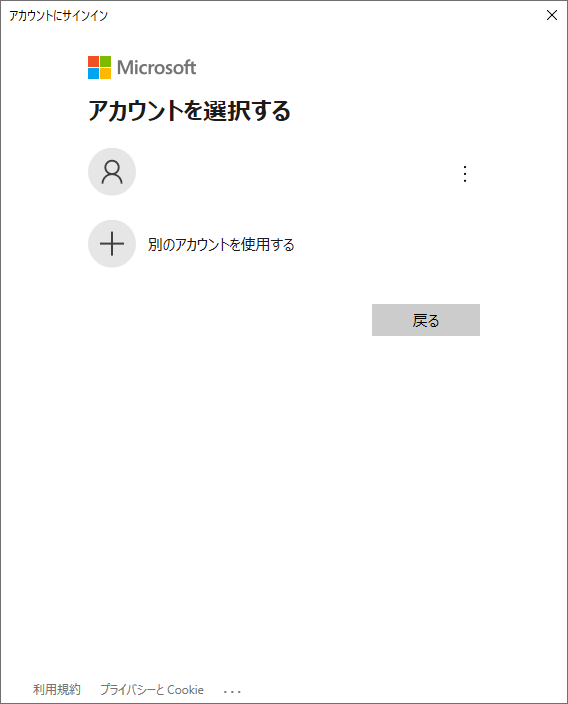
サインインの画面ですね。

フローの一覧のウィンドウが表示されます。(この画面は何というのでしょうね)
フローの作成
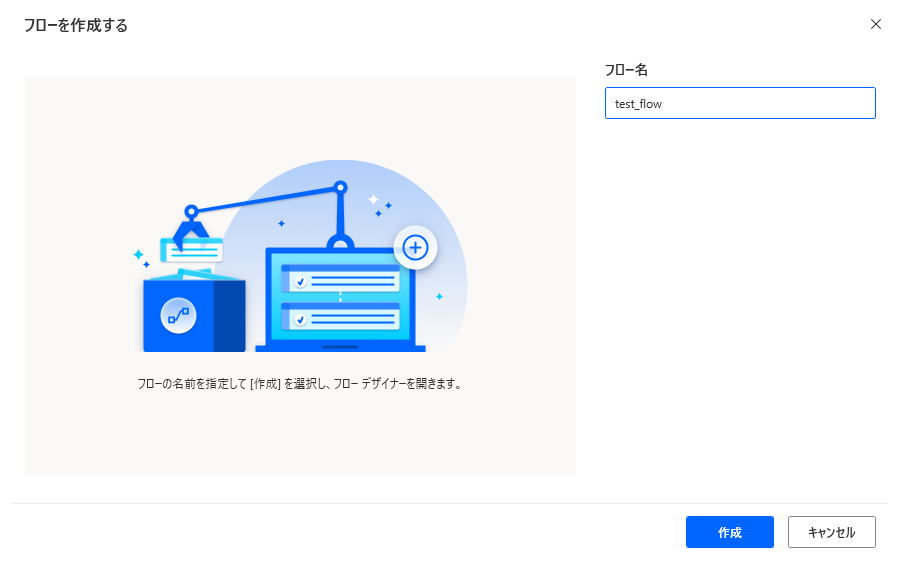
フロー名を入力します。
ここでは「test_flow」という名前にしました。
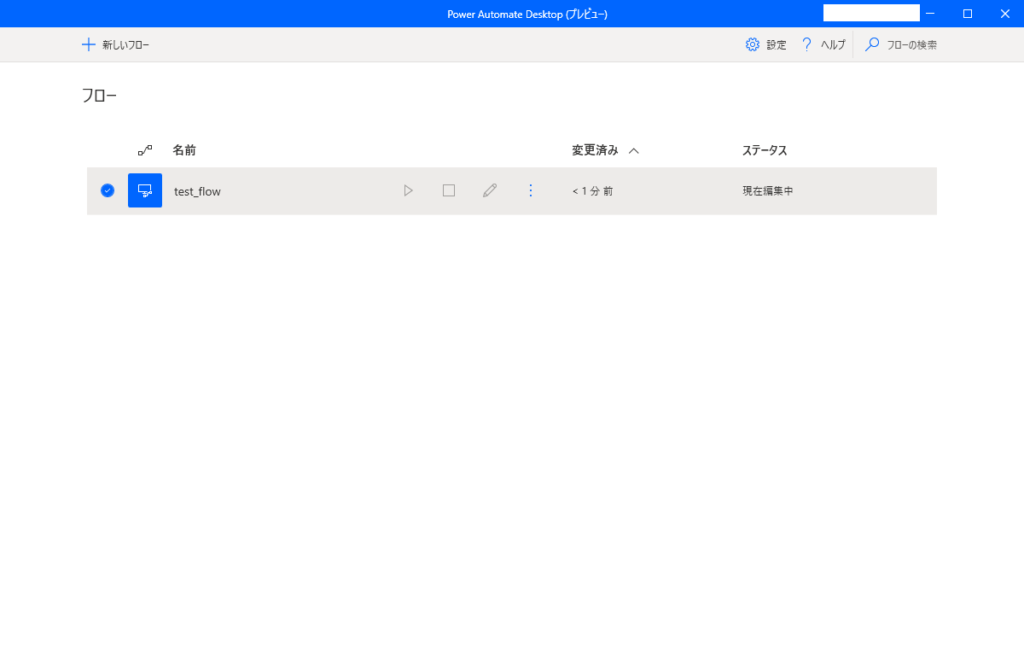
フローに追加されました。
別ウィンドウでフローの編集を進めます。
ここでは「Webブラウザを起動して特定ページを開き、ブラウザを終了する。」という簡単なフローを作成してみます。
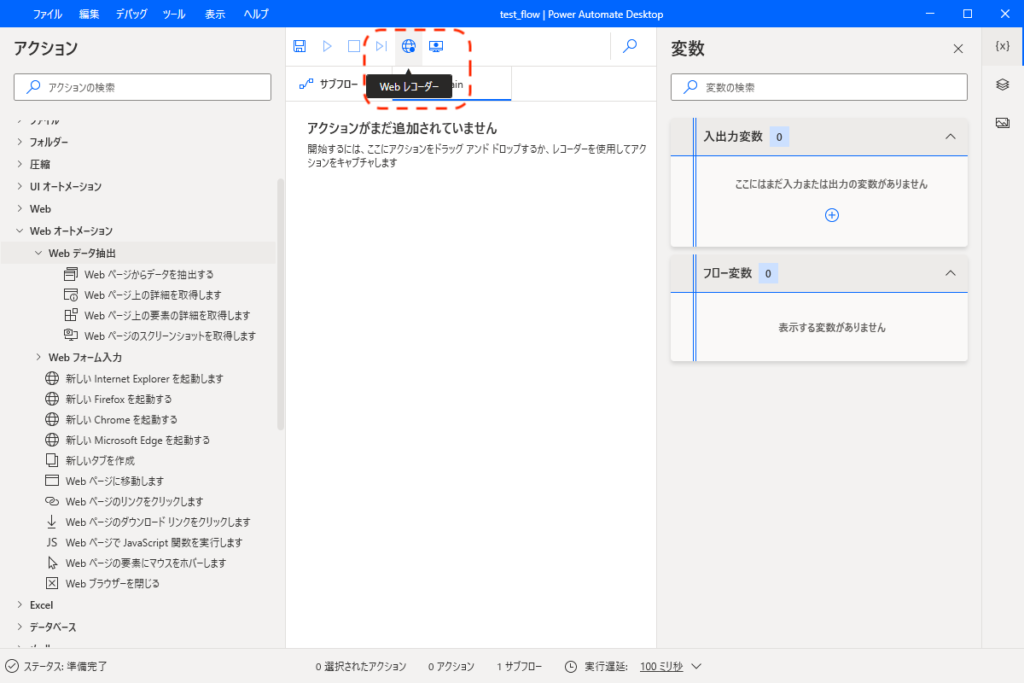
まずWebレコーダー機能を使って操作を記録します。
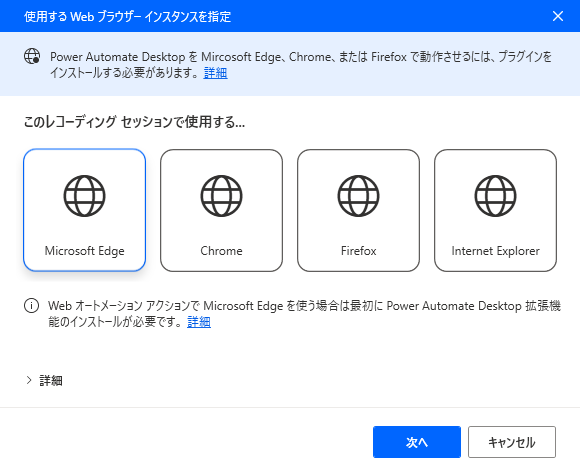
記録するブラウザを選択します。この画面はWinActor6よりはわかりやすいですね。
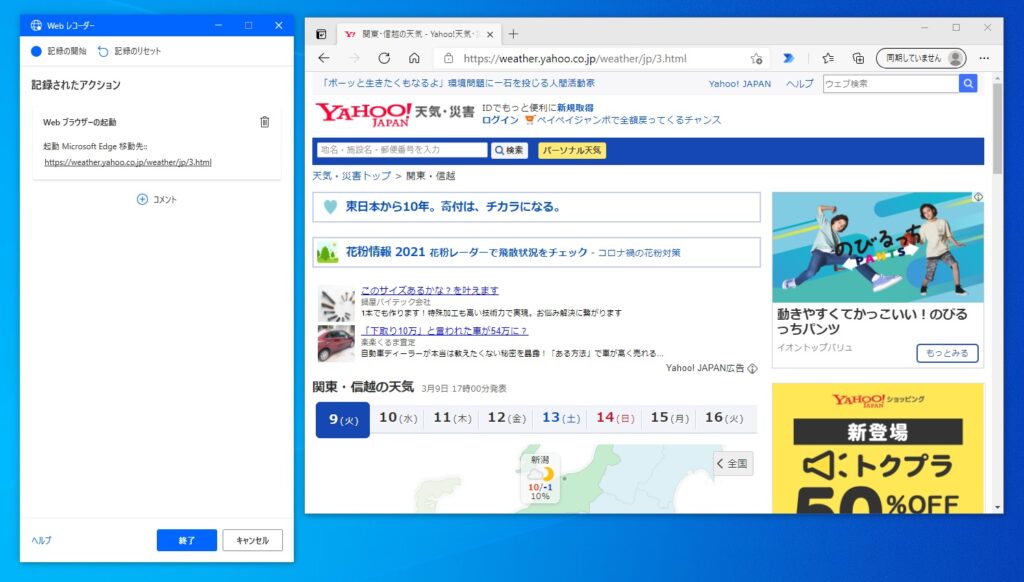
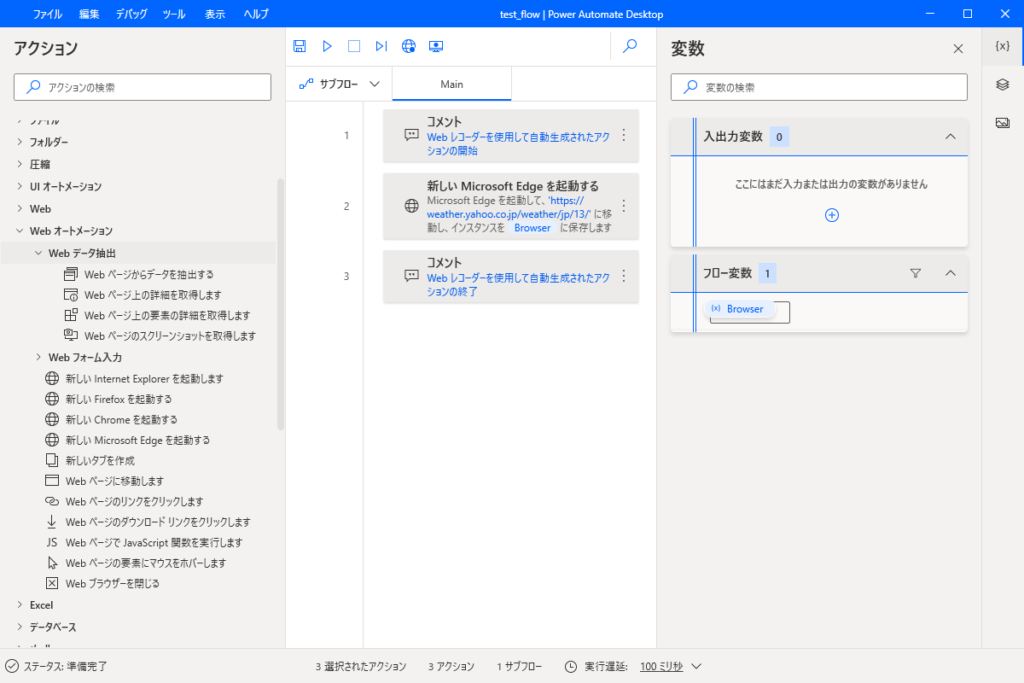
ヤフーの天気予報を開くだけの操作を記録しました。
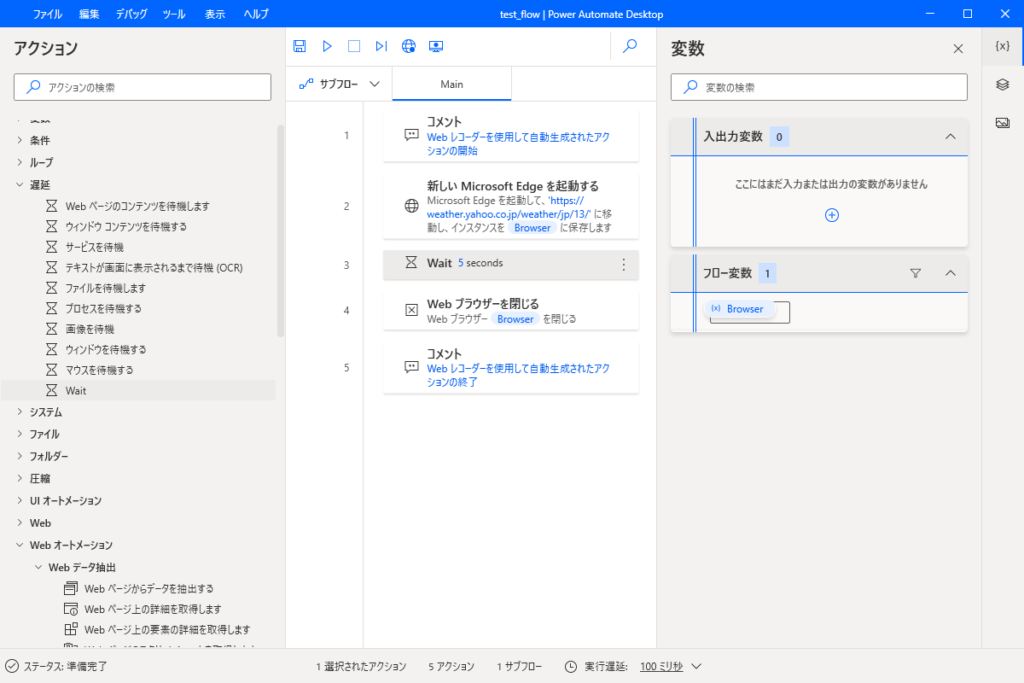
ブラウザを開いてから5秒待ち、ブラウザを閉じるという流れにします。
遅延 – Wait から数秒待つアクションをドラッグ&ドロップします。
Page Downを押下するキー操作を追加します。(画面撮り忘れ)
実行の様子
作成したフローを実行してみましょう
フローの一覧からも実行可能です。
まとめ
制限があるとは言え、無料で簡単にRPAが利用出来るようになったのは非常に良いですね。まずはちょっとした業務を自動化するところから試してみてください。
また、他社RPA製品との機能やライセンス体系の違いも気になります。いずれまとめたいと思います。
良かったら他の記事も読んで頂けると嬉しいです。