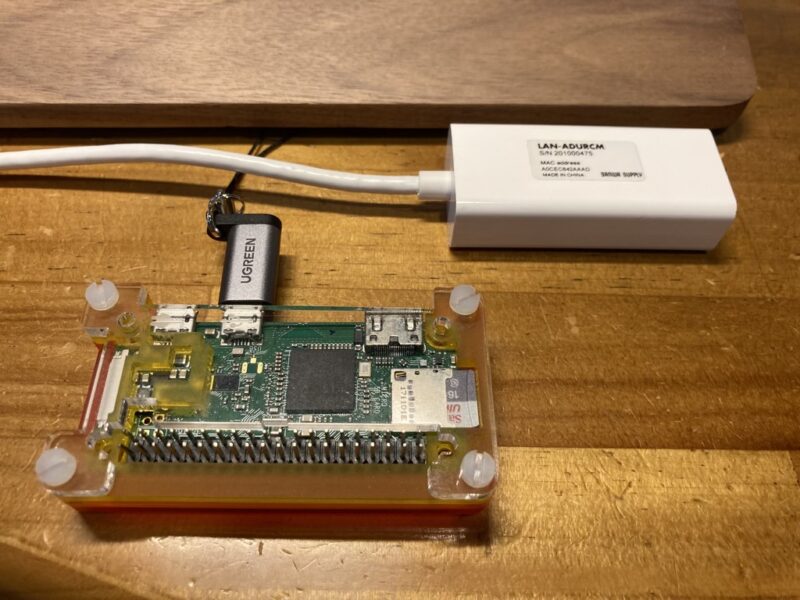
前回、RaspberryPi Zero WH(以降、Pi Zero)にWireGuardを入れて使えるかどうか確認を行いました。結果は”うまく行かない方法が1つ見つかった”という結果でした。Wifiだと厳しいのかもしれませんね。という訳で、今回はPi ZeroにLANアダプタを繋いで再度挑戦する内容となります。
環境
使用OS
前回に引き続き、Raspberry Pi Zero に Raspbian OS Liteを入れています。手順は割愛します。※前回をご参照ください
LANアダプタ
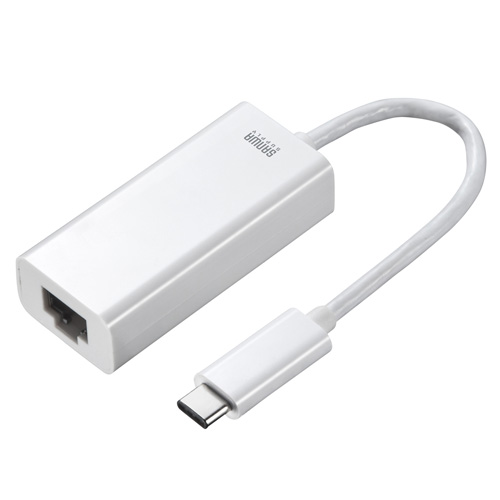
今回はサンワサプライさんの、有線LANアダプタ(Gigabit対応USB Type-C LAN変換・Mac用・ホワイト)LAN-ADURCM を使用しました。

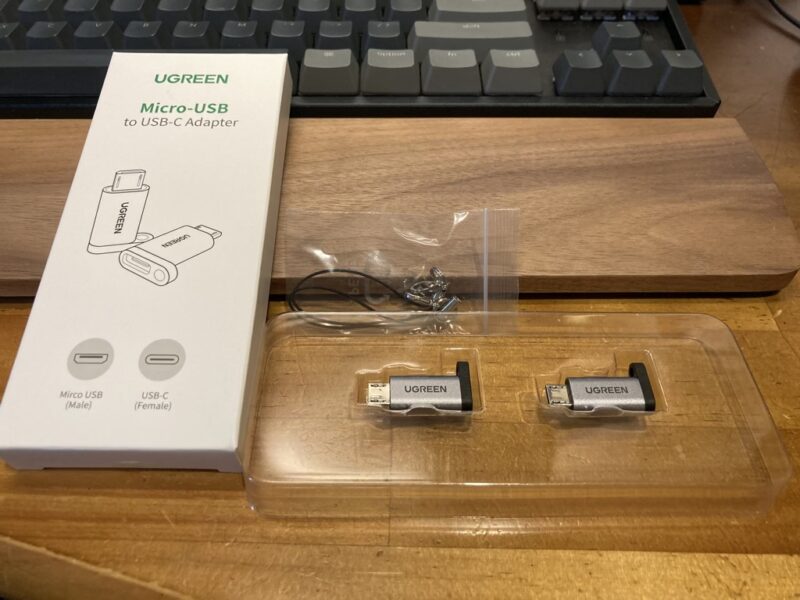
Micro-USB to USB-C アダプタ
有線LANアダプタがUSB-C用だったので、変換用アダプタを調達しました。


Pi Zero での確認
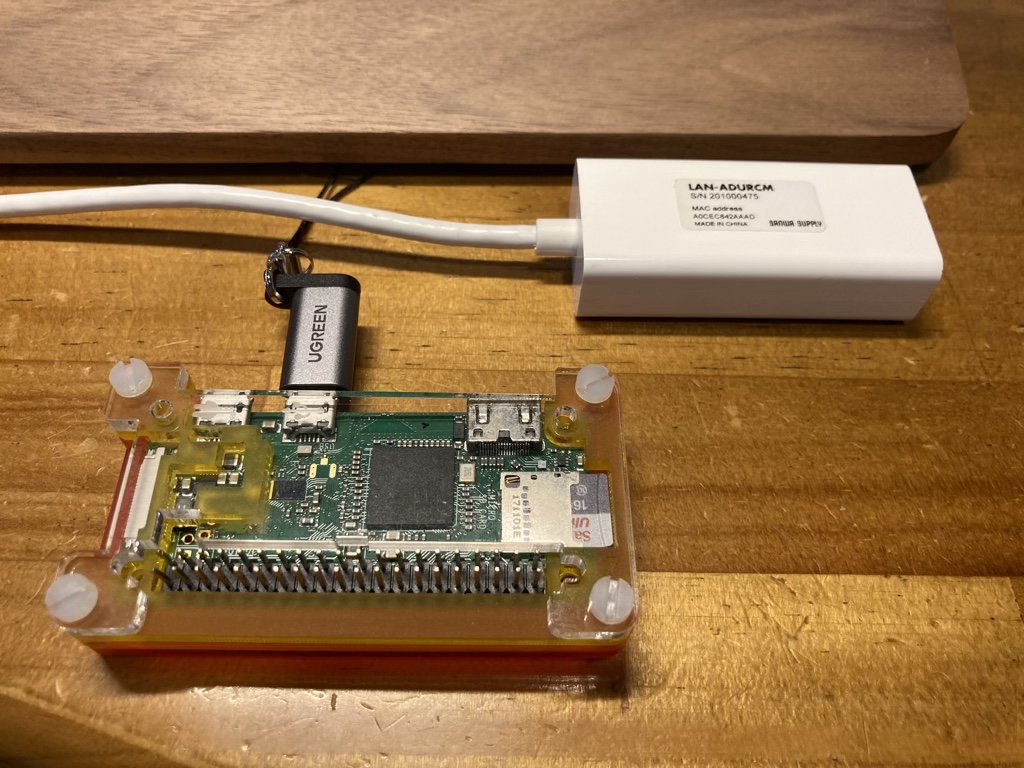
LANアダプタをUSBに挿したあと、認識されていることを確認しました。
ethtool <ネットワークインタフェース名> で確認できます。挿すだけでちゃんと認識されていました。
$ ethtool eth0
Settings for eth0:
	Supported ports: [ TP MII ]
	Supported link modes:   10baseT/Half 10baseT/Full
	                        100baseT/Half 100baseT/Full
	                        1000baseT/Half 1000baseT/Full
	Supported pause frame use: No
	Supports auto-negotiation: Yes
	Supported FEC modes: Not reported
	Advertised link modes:  10baseT/Half 10baseT/Full
	                        100baseT/Half 100baseT/Full
	                        1000baseT/Full
	Advertised pause frame use: Symmetric Receive-only
	Advertised auto-negotiation: Yes
	Advertised FEC modes: Not reported
	Link partner advertised link modes:  10baseT/Half 10baseT/Full
	                                     100baseT/Half 100baseT/Full
	                                     1000baseT/Half 1000baseT/Full
	Link partner advertised pause frame use: No
	Link partner advertised auto-negotiation: Yes
	Link partner advertised FEC modes: Not reported
	Speed: 1000Mb/s
	Duplex: Full
	Port: MII
	PHYAD: 32
	Transceiver: internal
	Auto-negotiation: on
その後、ip a でipアドレスを確認しました。前回、静的IPアドレスを設定したので、今回もそのまま利用します。
PiVPN
LANアダプタが利用できる事を確認したので、念の為WireGuardを再度セットアップしました。以下のコマンドで、ウィザードが始まります。手順は割愛します。
$ curl -L https://install.pivpn.io | bashその後、pivpn addで設定を作成します
$ pivpn add
Enter a Name for the Client: xxxxxxxxx
::: Client Keys generated
::: Client config generated
::: Updated server config
::: WireGuard reloaded
======================================================================
::: Done! xxxxxxxxx.conf successfully created!
::: xxxxxxxxx.conf was copied to /home/<user>/configs for easy transfer.
::: Please use this profile only on one device and create additional
::: profiles for other devices. You can also use pivpn -qr
::: to generate a QR Code you can scan with the mobile app.
======================================================================
pivpn -qr を実行すると、画面上にQRコードが表示されます。iPhone / iPadの場合は、WireGuardのアプリでこのQRコードを読み込むと設定が完了します。簡単ですね。
結果
各状態でスピード測定のサイトを表示してみました。2021/08/14 08:30頃に測定した内容です。
いずれもiPhoneからWireGuard接続後に、速度測定サイトで計測した結果です。
| VPNサーバ | ||
| RaspberryPi Zero | eth0(LANアダプタ) | 20Mbps |
| RaspberryPi 4B | eth0(1Gbps) | 53Mbps |
まとめ
Pi ZeroでもWireGuardサーバに出来る事が確認できました。Pi Zeroが余っていてVPNサーバーにしてみようかなという方がいらっしゃれば、ぜひお試しください。
ちゃんとしたVPN用途でRaspberryPiを使う場合は、ギガビットイーサ対応のRaspberry Pi 4B / 400 をサーバにするのが良いと思います。


