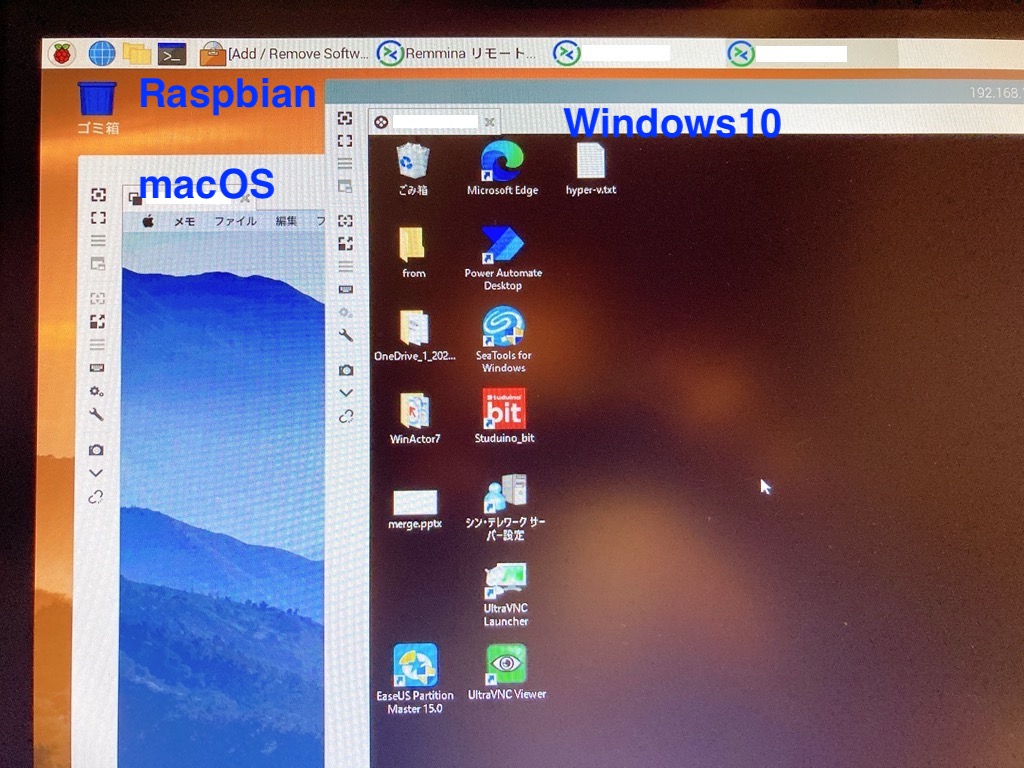
2020年秋にRaspberry Pi 400が発売されました。日本は2021年春頃に出るのでは?という事でしたが、気がつけば既に2021年夏。いつ発売されるのか不明でしたので、イギリスから調達してみました。注文してから1週間くらいで到着しました。早いですね。
なお、現時点ではRaspberry Pi 400には「技適マーク」がありませんので、本記事は「技適未取得機器を用いた実験等の特例制度」を利用して確認しています。
この無線設備は、電波法に定める技術基準への適合が確認されておらず、法に定める特別な条件の下でのみ使用が認められています。この条件に違反して無線設備を使用することは、法に定める罰則その他の措置の対象となります。
技適未取得機器を用いた実験等の特例制度
「技適マーク」が付いていない機器は基本的に日本国内で使えませんが、「技適未取得機器を用いた実験等の特例制度」を使うと、評価検証目的で利用する事が出来るという制度です。

RaspberryPi 400のスペックを確認しておきましょう

- Dual-band (2.4GHz and 5.0GHz) IEEE 802.11b/g/n/ac wireless LAN
- Bluetooth 5.0, BLE
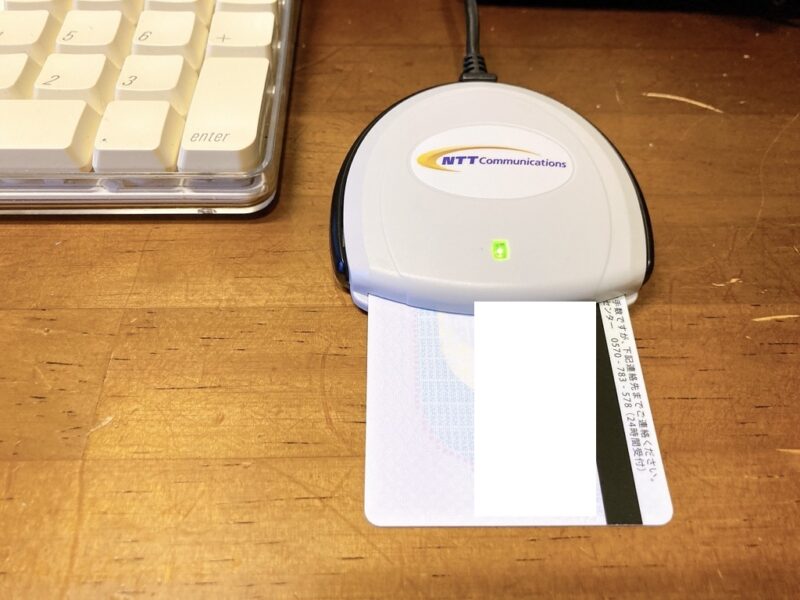
本人確認にはマイナンバーカードが必要です
Web申請を行う際に、本人確認が必要となります。マイナンバーカードがあるとすぐに申請ができるので用意しておきましょう。
申請が終わるとすぐに利用可能となります。
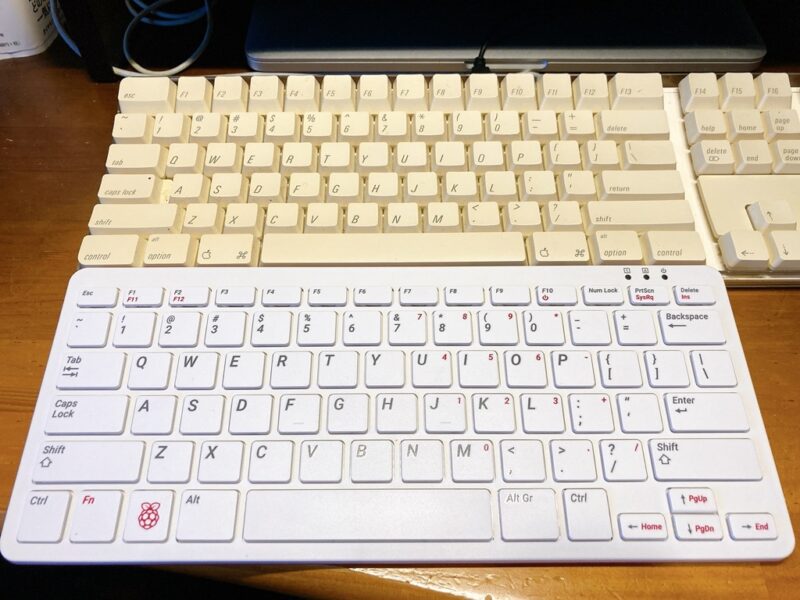
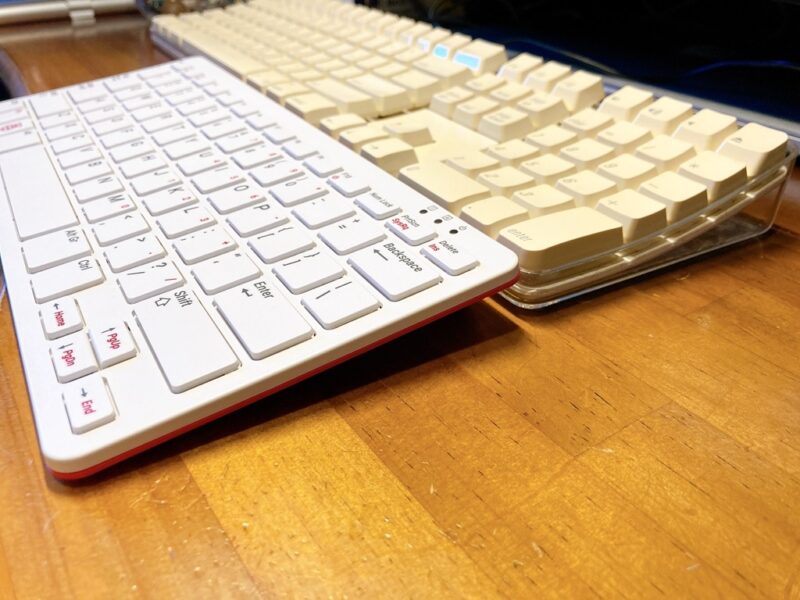
サイズ感
サイズ感は、テンキー抜きのAppleキーボードと同じくらいの大きさ、厚みでした。


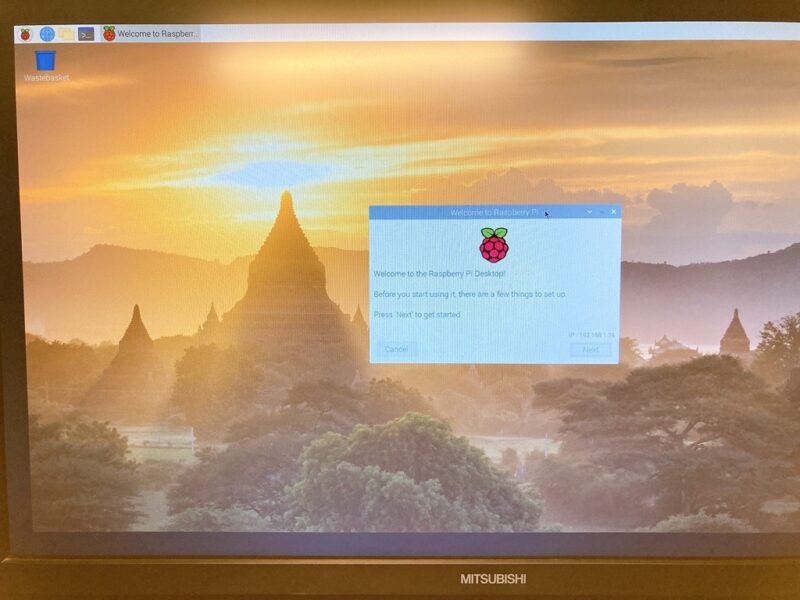
OSのインストール
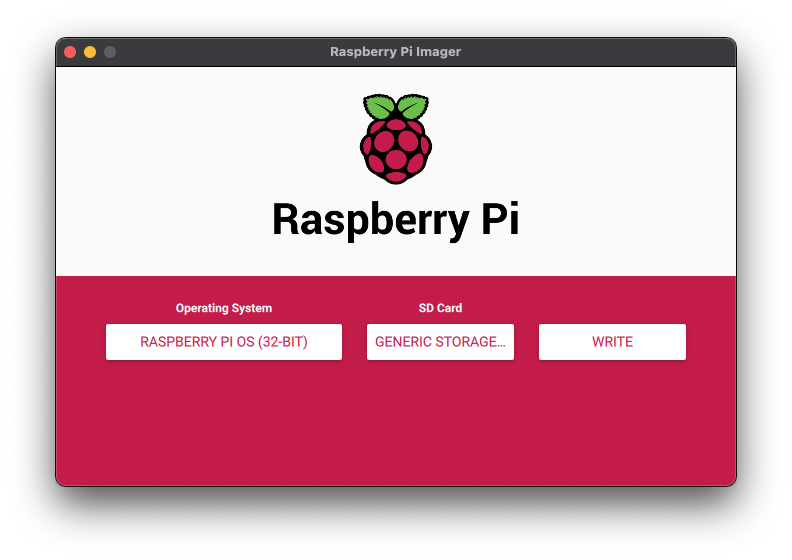
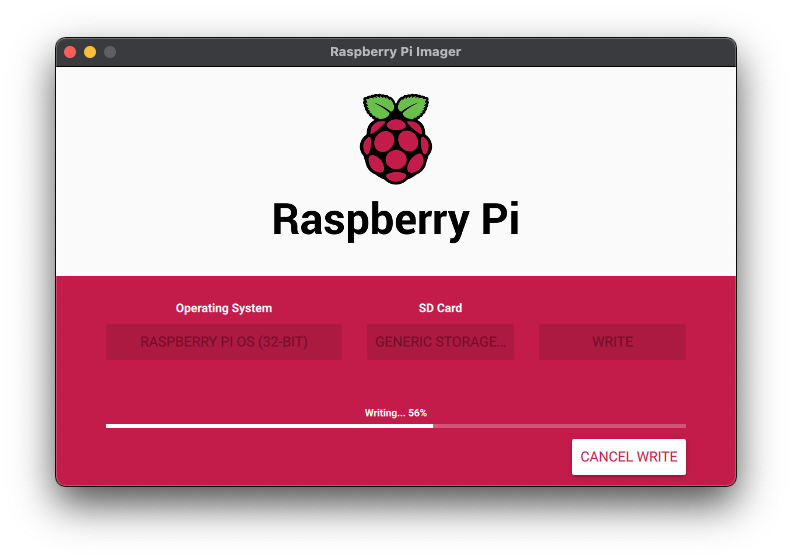
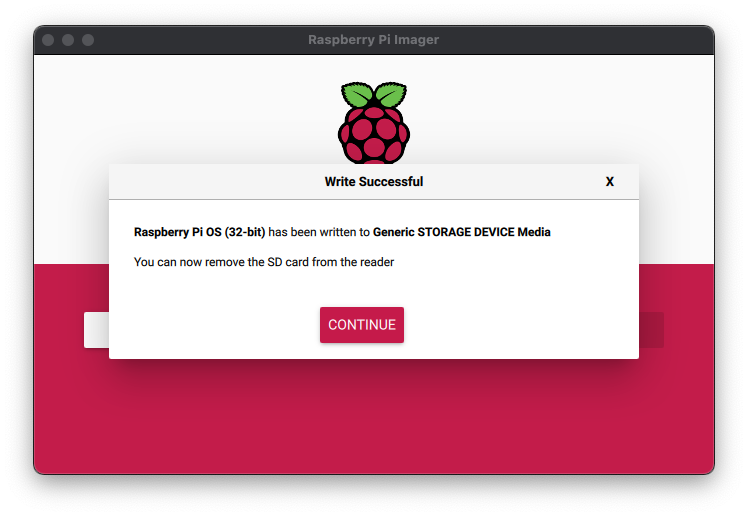
今回はRaspberry Pi OS(32-Bit)を使う事にしました。「Raspberry Pi Imager」を使って、SDカードにOSを入れます。他のOSだとSDカード作成が失敗する事があるので、その場合は「balenaEtcher」を利用してみてください。
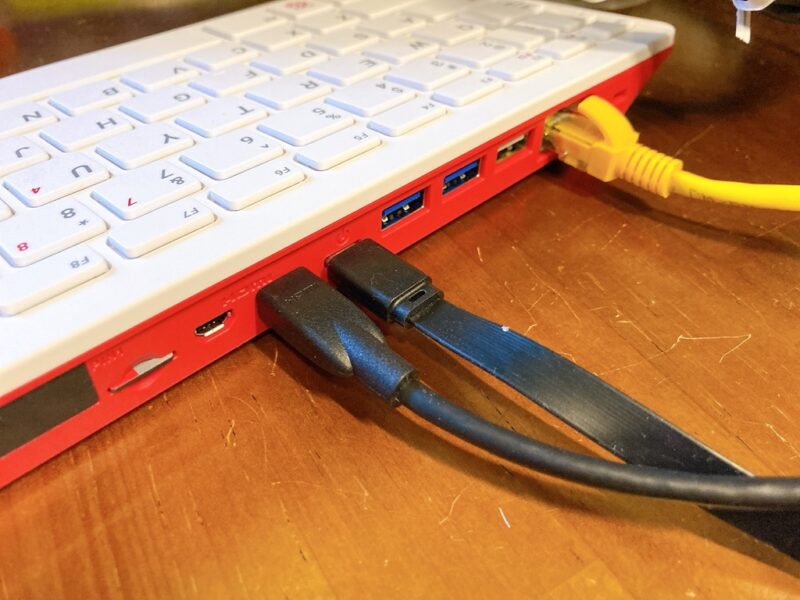
HDMI、電源、LANケーブル、マウスを繋いで起動します。
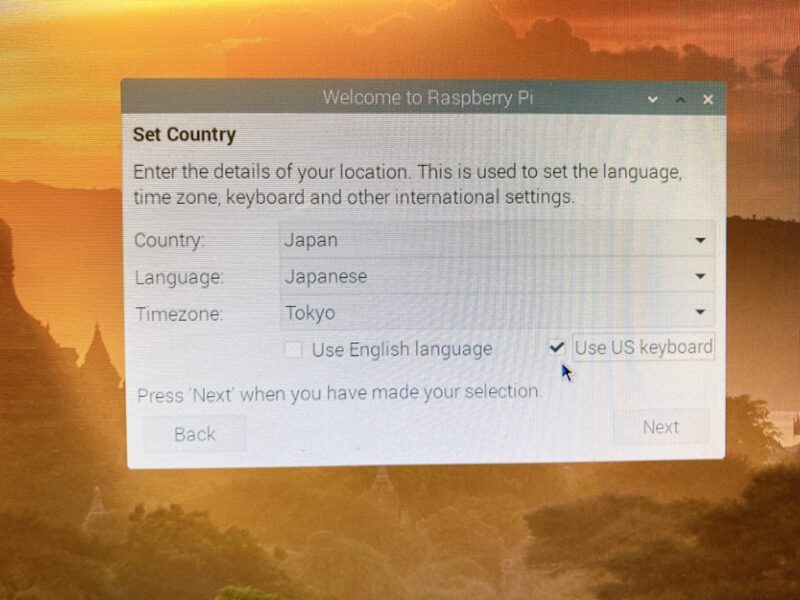
日本を選択して、USキーボードを使用にチェックしておきます。
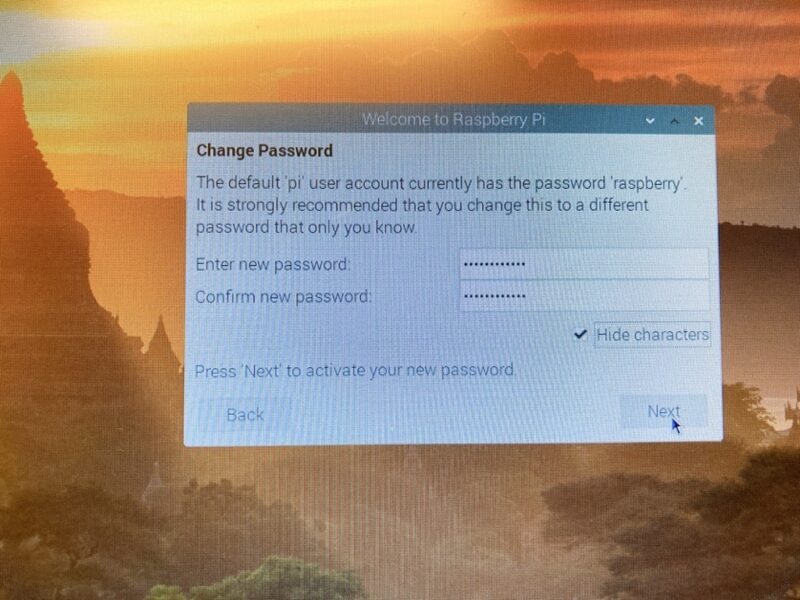
パスワードは必ず難しいものに設定しておきましょう。
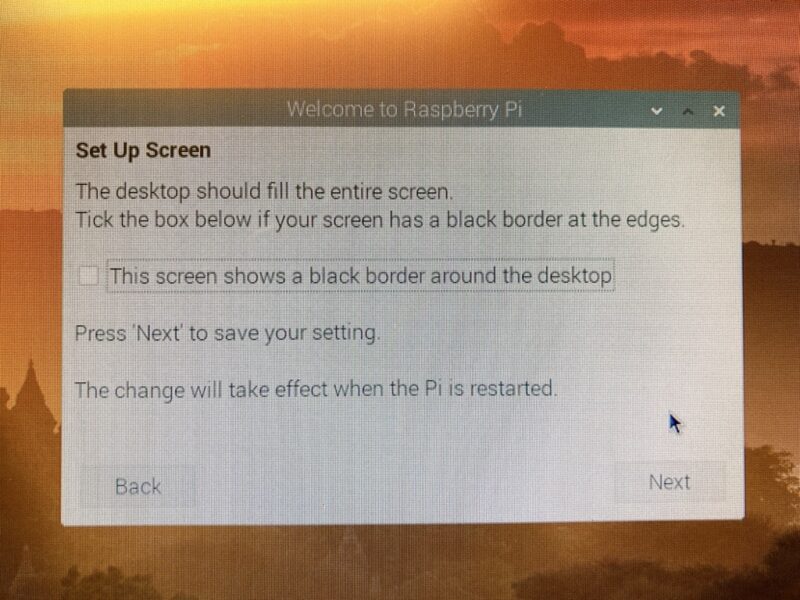
ディスプレイの周りの黒いフチが気になる場合は、チェックを入れておきましょう。
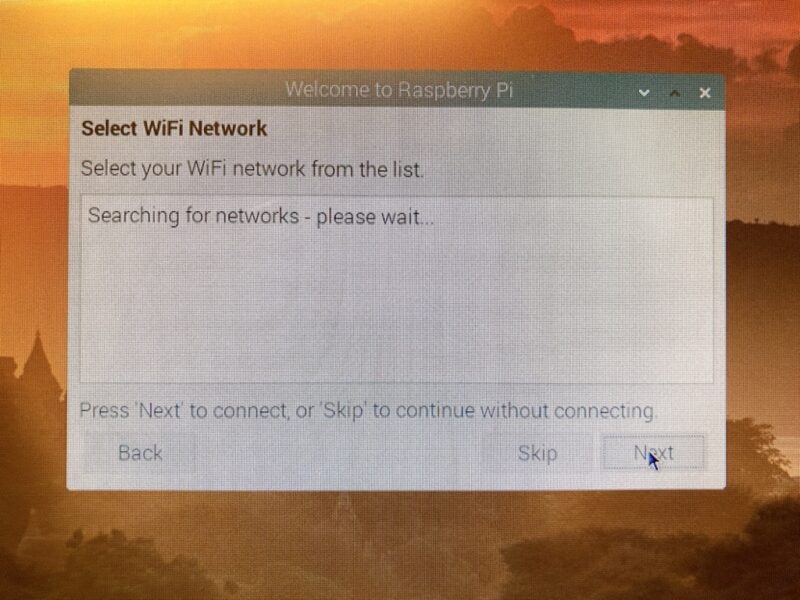
WiFiに繋ぐ場合は設定しましょう。
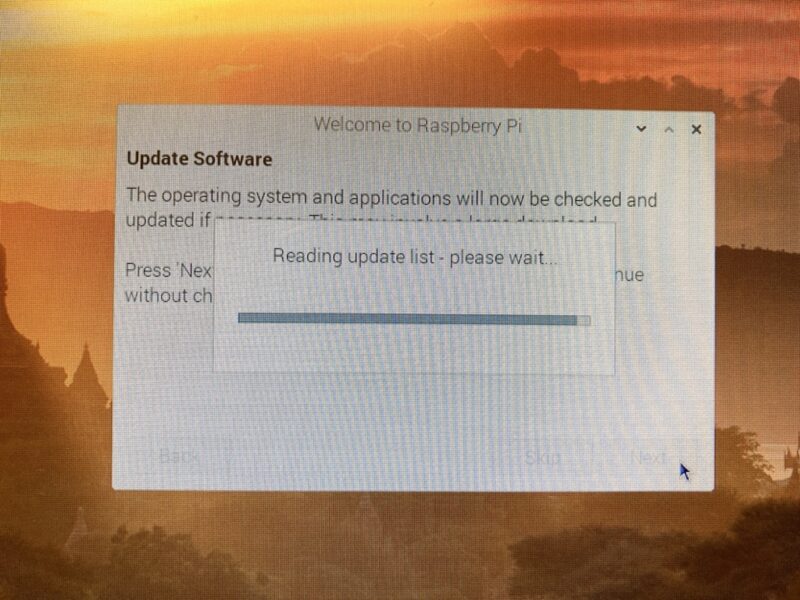
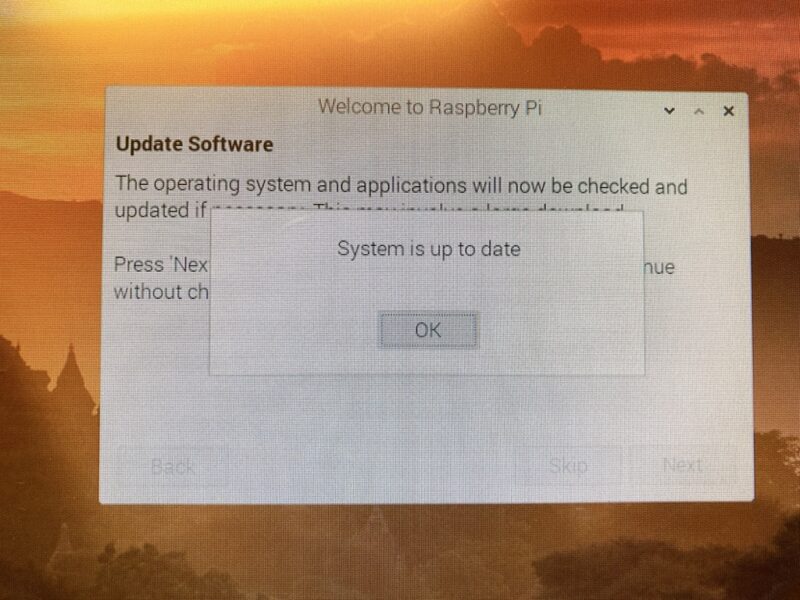
アップデートは必ずしましょう
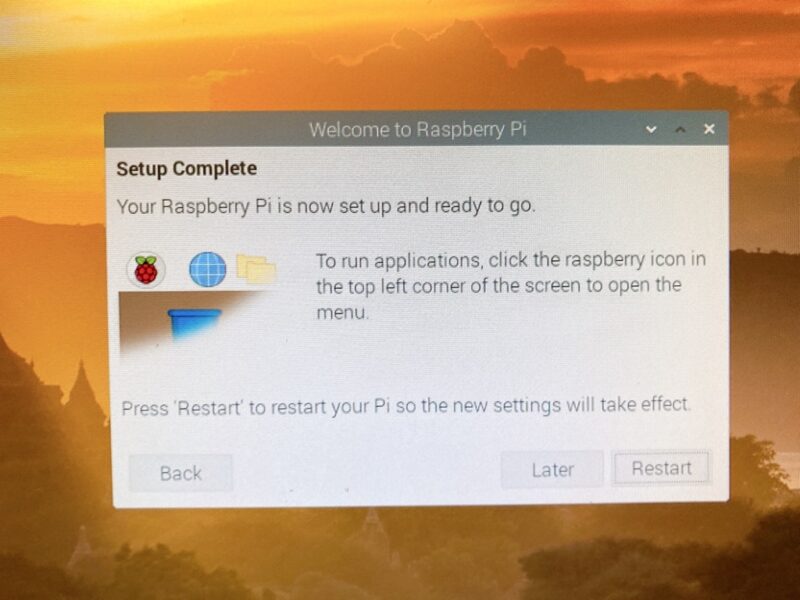
再起動して完了です。
初回起動時に設定したもの
セキュリティアップデート自動適用
セキュリティアップデートが自動で適用されるようにします
sudo apt install unattended-upgrades
sudo dpkg-reconfigure -plow unattended-upgrades
ファイアーウォール
IPアドレスとポート番号はご利用のものを指定してください
sudo apt-get install ufw
sudo ufw disable
sudo ufw default deny
sudo ufw allow proto tcp from xxx.xxx.xxx.0/24 to any port xxxx
sudo ufw allow proto tcp from xxx.xxx.xxx.0/24 to any port xxxx
sudo ufw enable
その他
必要に応じて、自動ログオンをオフ、ユーザ名、ホスト名を変更、などを実施してください。
リモートデスクトップでWindows 10 Proに接続してみよう
とりあえず、シンクライアントのようなイメージを想定してみます。あらかじめ、Windows 10 Pro側でリモートデスクトップの接続を許可しておいてください。
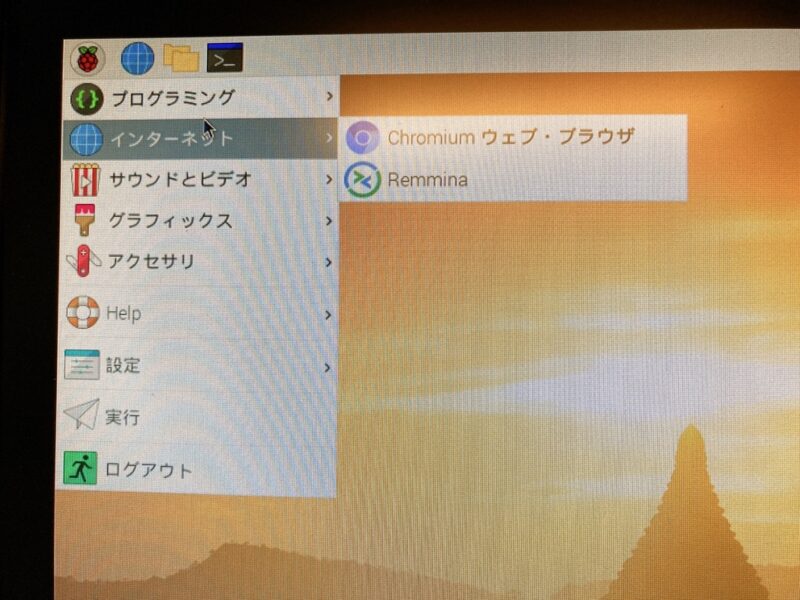
Remmina(リモートデスクトップクライアント)を入れる
sudo apt update
sudo apt install -y remmina
インストールが終わると、「インターネット」のところに「Remmina」が入ります。
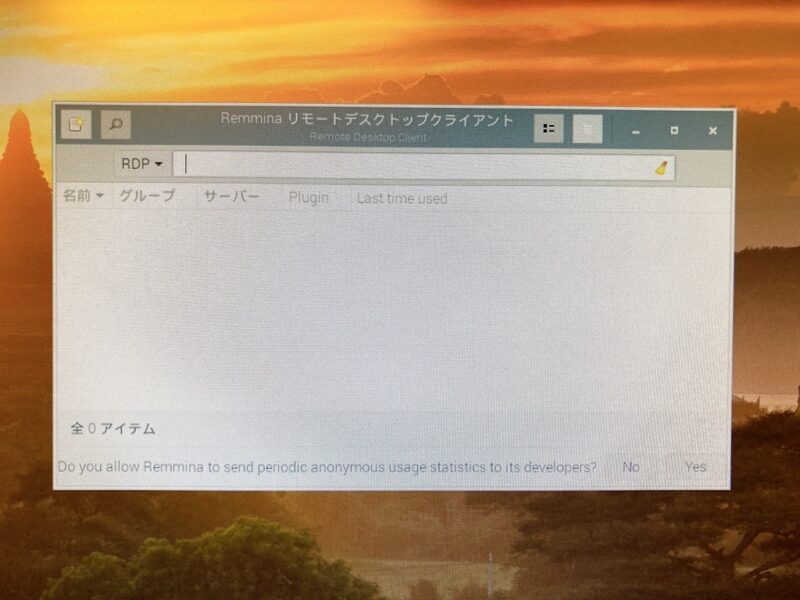
RDP▼のところに、接続先を指定します。
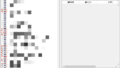
無事、Windows10 Proに繋がりました!。
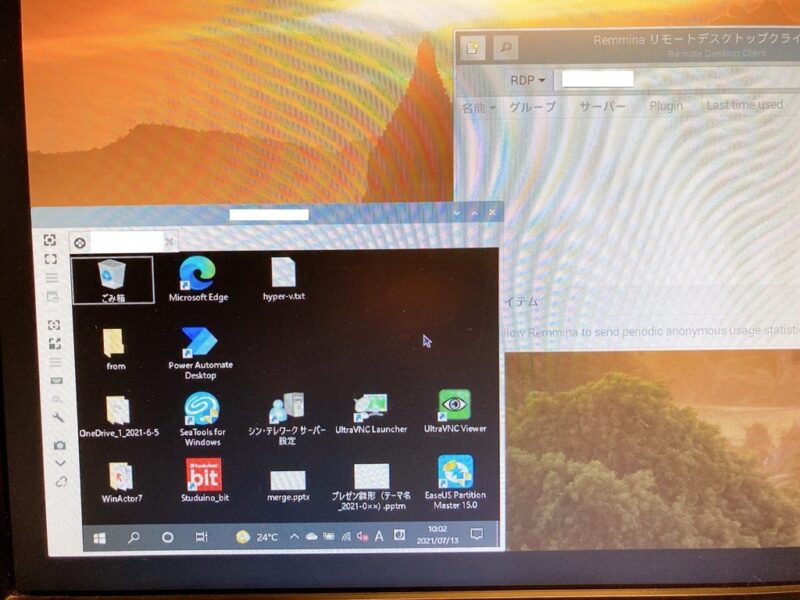
Windows 10に繋げているので、EdgeやOffice関連なども普通に使えます。
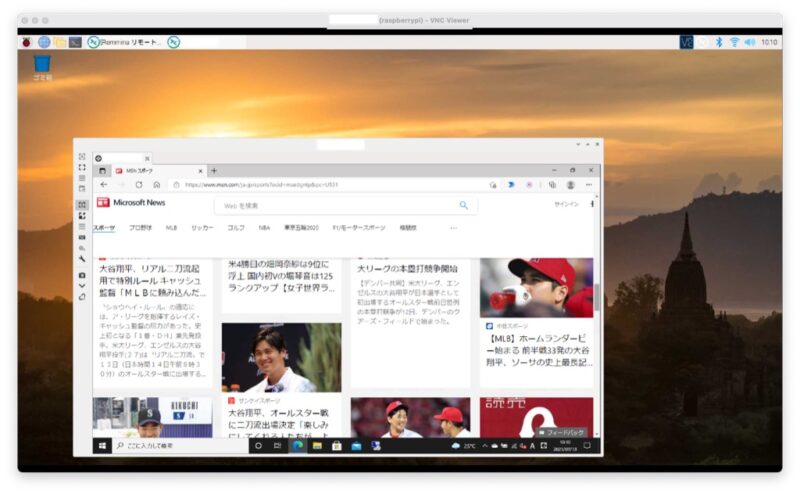
速度も少しひっかかり感はありますが、普段使いなら大丈夫でしょう。
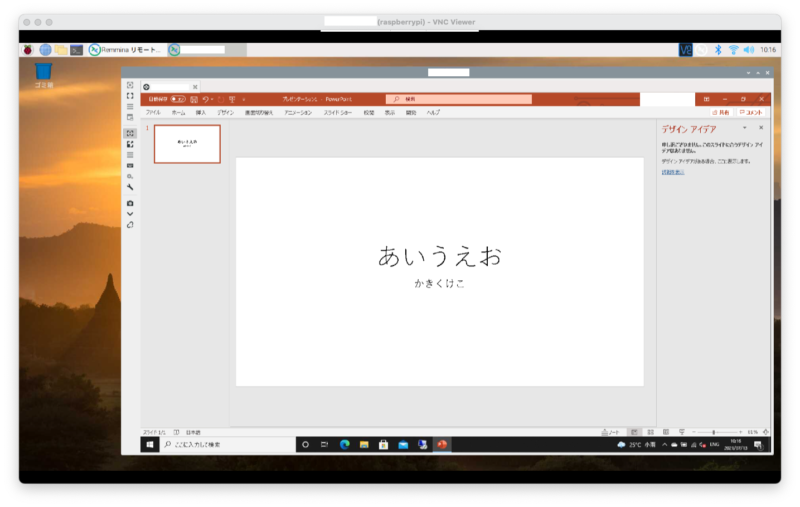
RemminaでmacOSに繋げてみる
RDP▼の箇所、VNC▼、SSH▼に選択可能でした。という事で、macOSにも接続してみます。
事前に[システム環境設定]-[共有]-[画面共有]を有効にしておいてください。
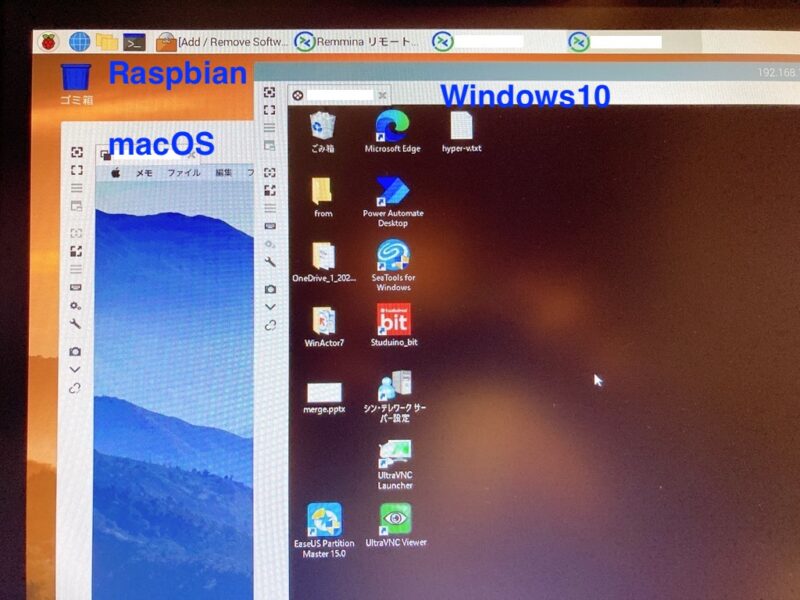
無事、ラズパイから、macOS、Windows 10に接続が出来ました!
macOSの方が早い気がしたのは、Windows 10が動いているハードが古いからだと思います。
まとめ
Raspberry Pi 400はサイズもコンパクトですっきりしていますし、動作も割と大丈夫だと思います。シンクラ端末としてかなり使えると思いました。
- Raspberry Pi 400は1週間くらいでイギリスから届きます
- 「技適未取得機器を用いた実験等の特例制度」を必ず申請すること
- Windows 10、macOSに繋ぐことで、普通に端末として使えます
シンクラ利用といえば、Citrixさんのブログにも同様のものがありましたね。

次回は「Raspberry Pi 400からVPN経由で、自宅Windows10を使ってみる」という確認が出来ればと思っています。これができれば、安価な端末でテレワークもばっちりですね。